
10 Tips for Correct Piano Posture For Everyone
This article will provide you with ten tips on how to play the piano with proper posture, which will improve the impact of your performances. There’s more to playing the piano than just hitting the notes on the keyboard. You’ll get greater sound, vision, and feel if you adhere to these piano posture suggestions.
Let’s begin with 10 Tips for Correct Piano Posture!
See More :
- Top Piano Notes Sheet for Beginners
- Top 10 Best Pianos for Beginners
- How Can I Play Piano?
- Top 10 Best Piano Brands in 2024
- Top 5 Yamaha Digital Piano Grand Models You Must Try
#01 – First way to have the right posture? Let’s Find the right fingering position
Try placing your hands comfortably on your thighs and sliding them forward over your knees to obtain the ideal fingering position for playing the piano. This is the first of our ten piano playing tips.
Observe the organic way your fingers around your knees. As you raise your hands to the keyboard and try to play, maintain that position for your fingers. Putting your hands in a cup shape as though you were holding a delicate little child is another small tip. You are now prepared to play the piano in your own unique way by rotating your hands so they are in your palms while maintaining that finger form.
#02 – Watch Your Thumb
When playing the piano, your thumb shouldn’t be bent like the other fingers. Strive to maintain composure while remaining loose. You should just let go when playing the piano with your thumb. Because the piano keys should only come into contact with the side of your thumb, close to the tip.
#03 – Get Balanced
Among the 10 Tips for Correct Piano Posture, this is one of the most crucial ones. Your shoulders and back will have a lot of weight to support if your head is not in alignment with your body!
By gently touching the inside of each ear with your fingers and nodding your head up and down as though you were saying “yes,” you may locate the center of your head. This will assist you in finding your head’s center. Your shoulders and hips should be aligned with that center.
#04 – Use Proper Foot Rests
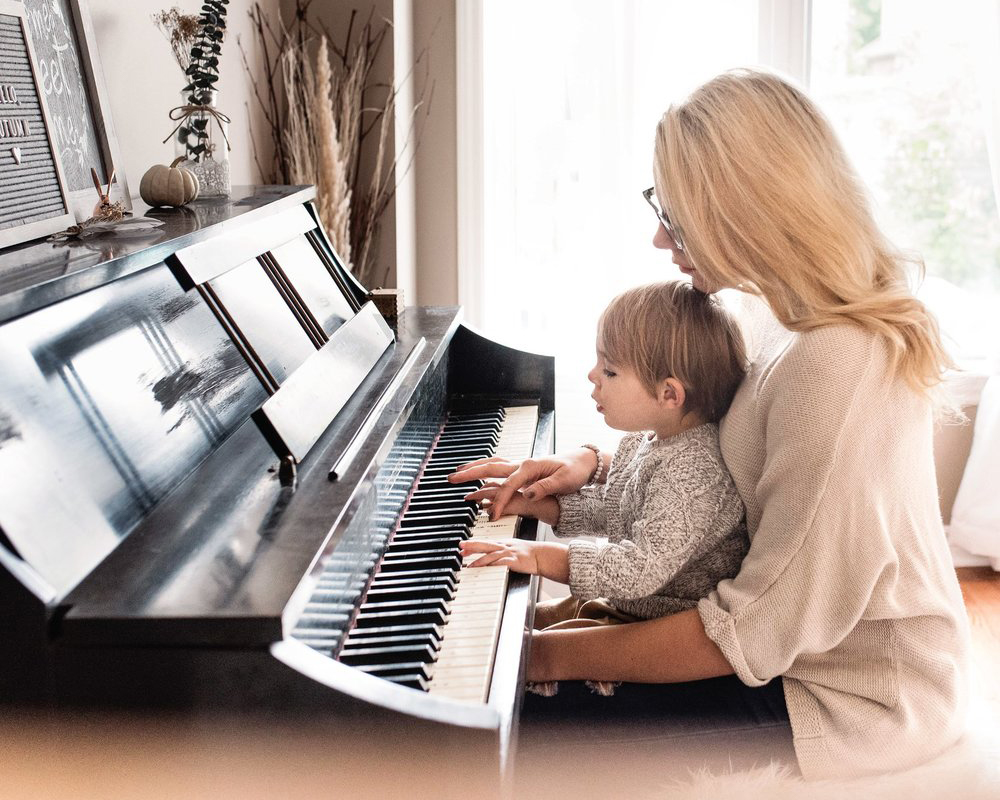
Children frequently sit too close to the piano keys and slide forward on the bench. Use a box, stool, or even a stack of books as a footrest to prevent this. If your child’s feet are securely placed on something instead of hanging, they will play the piano more comfortably and with better posture.
Side Tip: This also applies when you are scootering alongside a toddler!
#05 – Fingering Firmly
When you press down on a piano key, your finger may occasionally flex at the end and become misaligned. Always bend this joint outward rather than inward. One hand on a flat surface with the finger bent is one approach to train this joint to be firm. Press gently on one end of the joint until it bends inwards using your other hand’s index finger.
Try it once more, but this time resist the urge to keep the bent finger curled. Keep in mind that we are working with little muscles, so go slowly!
It only takes a small amount of pressure. Piano Fingers suggests using only fingers 2, 3, and 4 for this exercise. Make sure your fingers are correctly bent as you play the piano.
#06 – Use Gravity Correctly
When playing a note on the piano, employ your entire arm weight rather than just your finger strength. To do this, try pulling the piano bench back a little bit from the piano, as explained in the 10 Tips for Playing the Piano with Correct Posture. Drop your arms onto your lap after practicing holding your arms as though you were holding a piano in front of you.
Your arms fall limp onto you; feel their natural weight. Envisioning yourself as a puppet with few strings supporting your arms could be beneficial. Your arms drop freely and heavily as someone breaks the strings.
Once you’ve attempted this with both arms, return the bench to the piano and feel the drop of your arms with bent fingers on each note. Your fingers will transfer the weight of your arms into each key.
#07 – Proper Wrist Movement
When you play, a supple and flexible wrist will aid transfer the weight of your arm to your fingers. As you play the keys, keep your wrist loose and your fingers bent but in contact with the keys.\
To be ready for the next downstroke, let your wrist softly rebound after you’ve finished playing the keys. As you do this, your fingertips should be in touch with the keys.
Instructors will occasionally instruct their students to visualize the wrist as a trampoline. The trampoline begins, then you bounce back, and it always bounces back when it dips!
Above all, constantly keep in mind that the wrist should feel relaxed and at ease. As Piano Fingers pointed out in the last suggestion, the key is to let gravity do the heavy lifting for you. Don’t push these movements. All you can think of is “falling” into each key.
#08 – Correct Arm Alignment
The pinky, wrist, and elbow should all be in a straight line as you play the piano. Young youngsters will sometimes rotate their hands, bending their wrists, especially when playing Middle C with both thumbs up.
Try maintaining a more erect wrist alignment and turning your hands inside toward one another instead. Tension from holding your wrists at an angle often gets in the way of your greatest piano playing when you’re practicing 10 Tips for Correct Piano Posture.
#09 – Using the Little Finger Tips
Since the little finger (the fifth finger) is the shortest and most likely least developed muscle in your hand, Piano Fingers occasionally feels that playing with it flat on the keys is a little bit of a “cheat.”
A flat fifth finger limits your hand posture and prevents the muscles in your fifth finger from becoming as independent and agile. The fifth finger should ideally be slightly bent like the other fingers, barely softly touching the keys with the little finger.
It is true that the fifth finger doesn’t always need to be particularly curled to achieve a comfortable playing posture on the keys because it is shorter than the other fingers. Avoid using excessive power to the point where your fingers become “over-curved.”
Recall that the goal of using a curved finger is to find a comfortable, efficient, and calm playing position.
#10 – Sit and Lean a Little
While playing, kids could enjoy sliding on the bench, but this is not a very energy-efficient activity and is not advised by the 10 Tips for Proper Piano Posture.
Children should sit still and adjust their posture as needed. Start on the left side of the bench if the entire piece is played at a low volume, or on the right if it is played at a high volume. If a piece moves in both directions, lean and sit in the center to access every key. For balance and something to push off of when leaning, a footrest can be very helpful.
Bottom Line
Hopefully, via this article 10 Tips for Correct Piano Posture, you will find helpful strategies to increase your practice and play the piano more successfully. To fulfill your ambition, all you now need to do is purchase a good piano and begin practicing.
Source by: pianosintheparks.com

Leave a Reply
Want to join the discussion?Feel free to contribute!